Online 3D Battleship
This project was guided by a sponsor who would direct us based on goals he had in mind for the project. It was meant to have basic functionality as well as some other requests from our sponsor by the due date. It required weekly meetings where we would get together and collaborate on goals we had in mind.
Designing the Main Layout
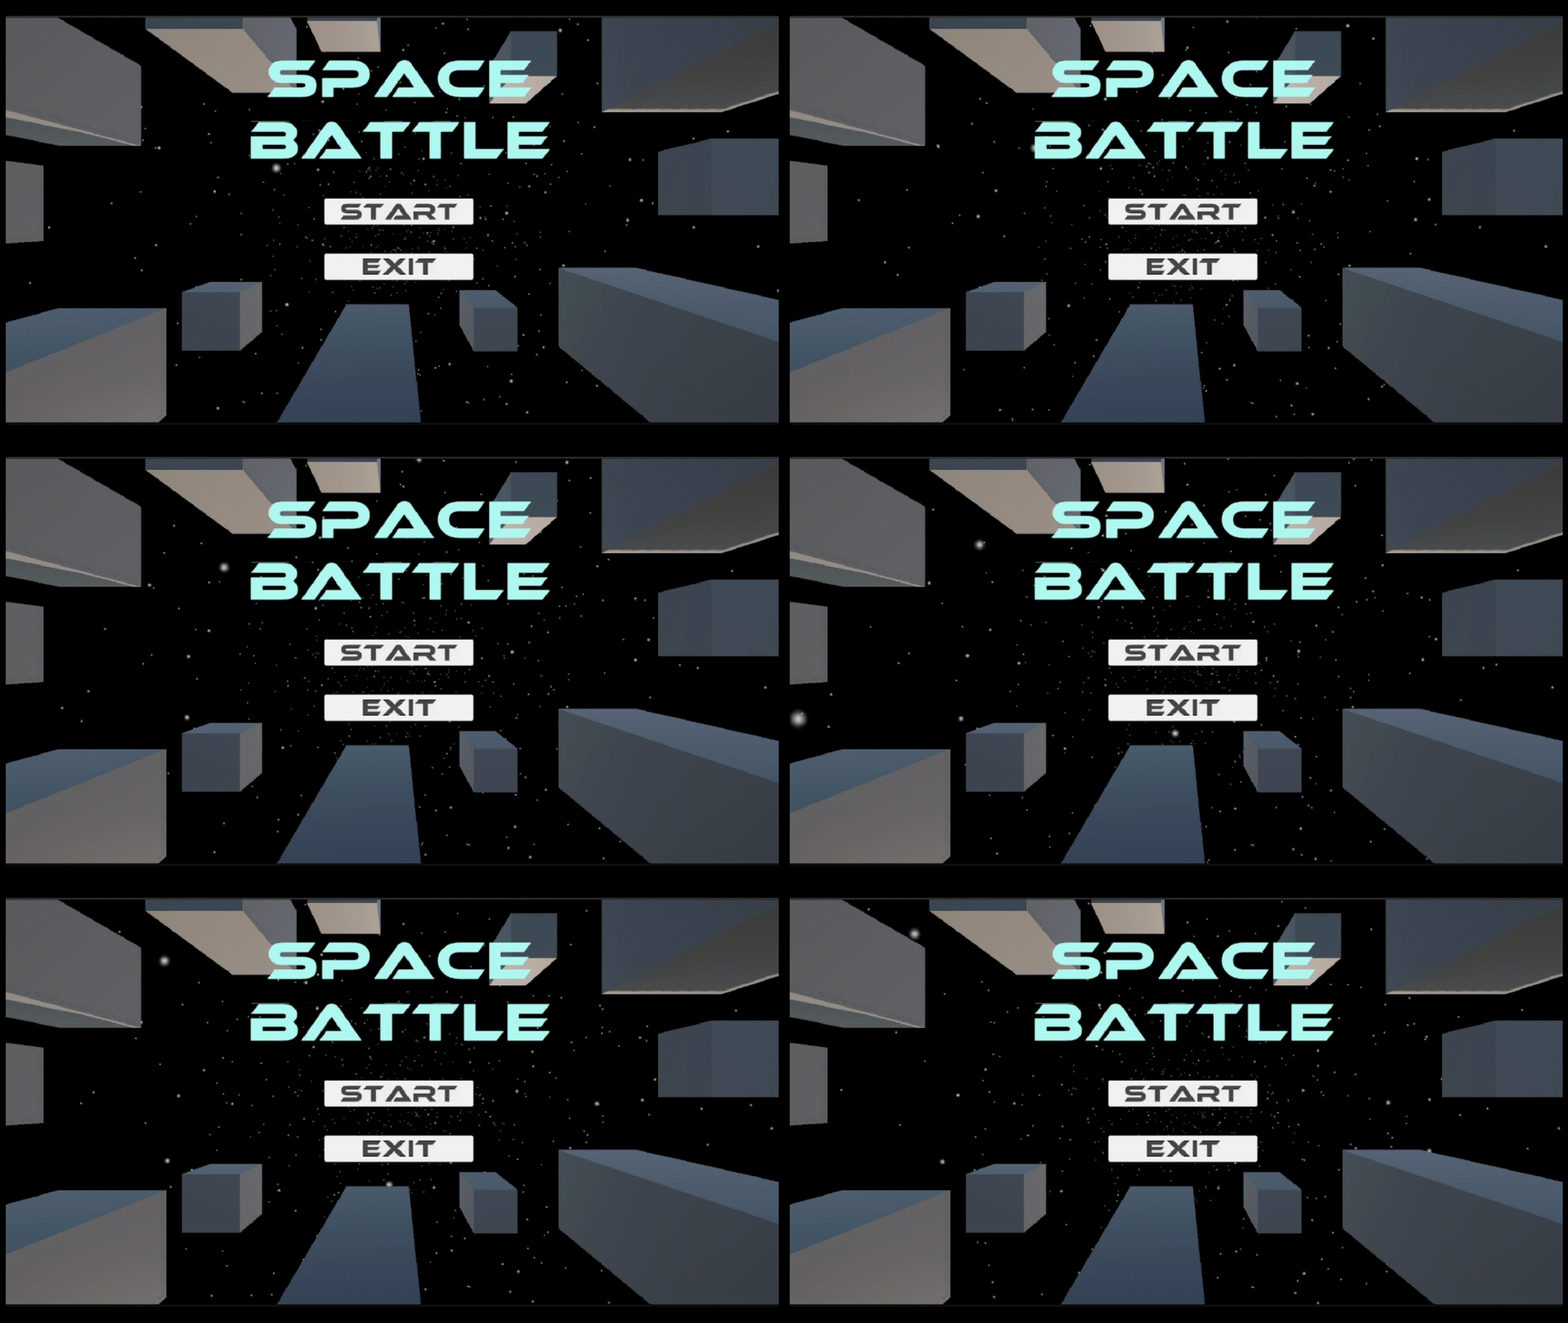
The basic home screen was entirely created by me. The first step taken involved me sketching out a few basic designs and showing them to the group so they could determine the most visually pleasing design.
Once the design was chosen, I set up the ship prefabs to create the fleet on screen in the way I had originally designed it. The background was altered to be night and I added particle effects that hovered within a radius just outside of the fleet. This seemed too simple so I created another particle effect that moved toward the main screen. To prevent the particles from interacting with the ships, I enabled collisions and added a collision sphere the perfect size of the fleet.
For the UI text, I went online and found some free samples to choose from. Once the group agreed on one, I added it as the title and created interactive buttons.
Mouse Interactions
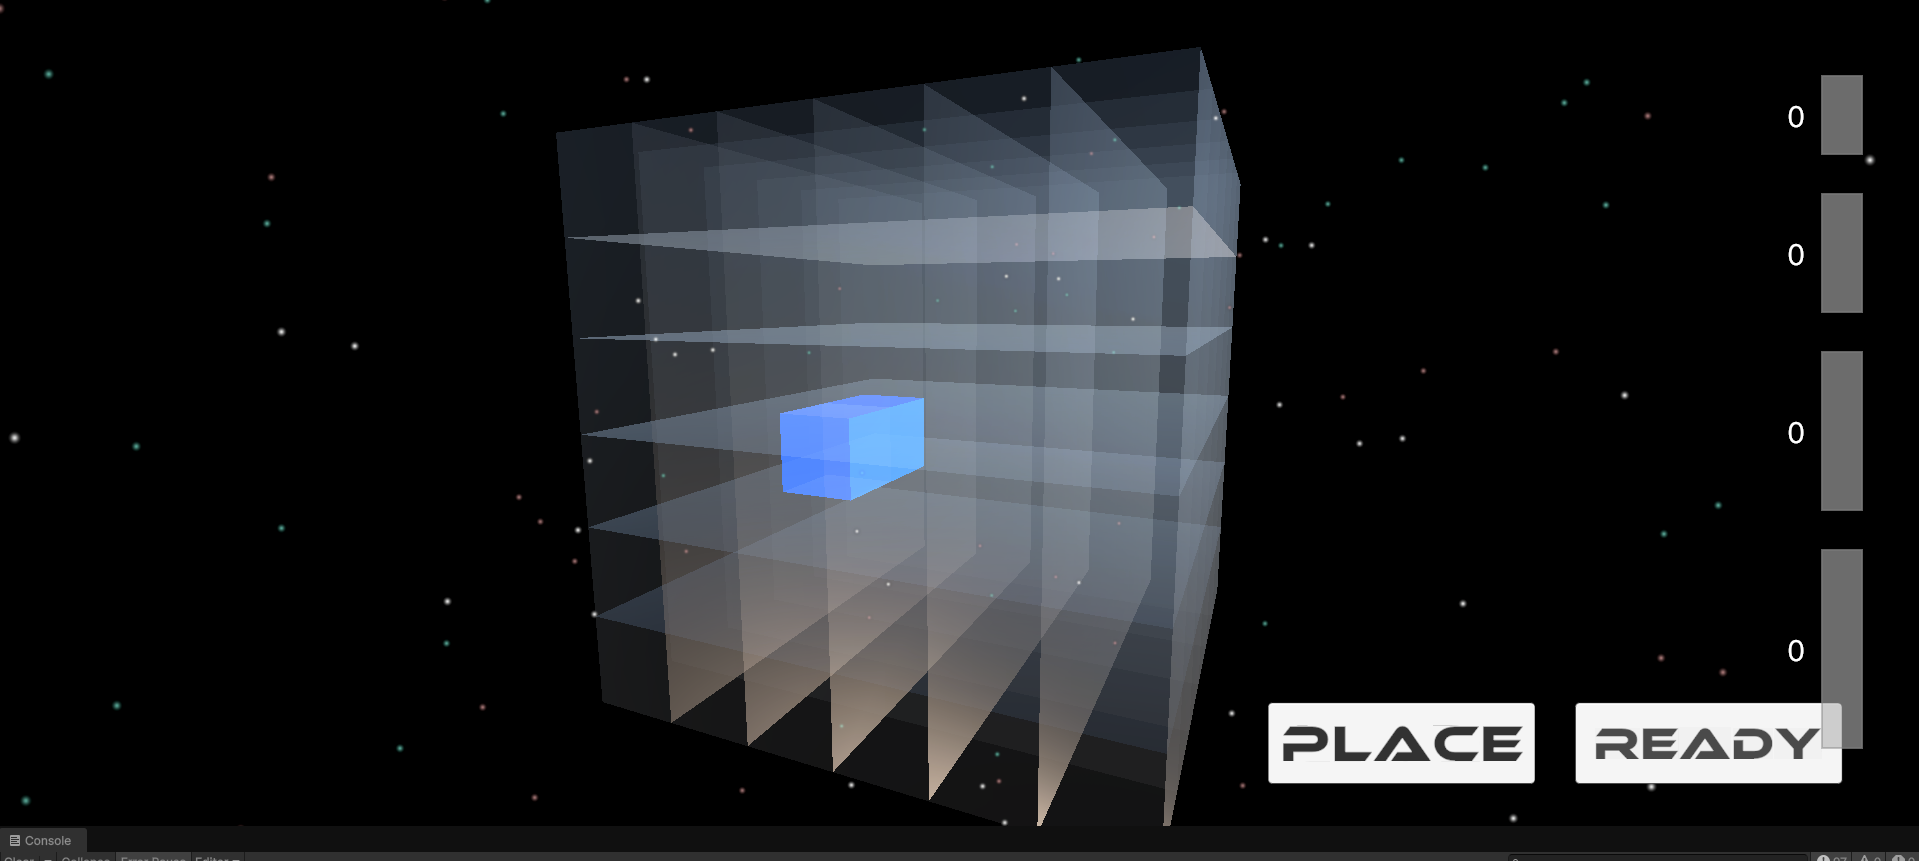
The ship placements were originally entirely driven by keyboard. I wanted to add more options so I created mouse interactions as well.
All placement cubes had a sensor event attached to that read when the mouse hovered over them as long as they stayed within a specific layer for the Raycast to see. This event would trigger a function within a private class that handled ship placement on the grid.
If the cubes registered a left click, it would trigger a similar function for ship placement. Right click would switch the ship between different rotations.
If the scroll wheel’s value increased or decreased, the cubes levels would shift the ships placement inwards or outwards. The scrolling function worked by switching layers of cubes out of the Raycast’s layer.
Ship Placement
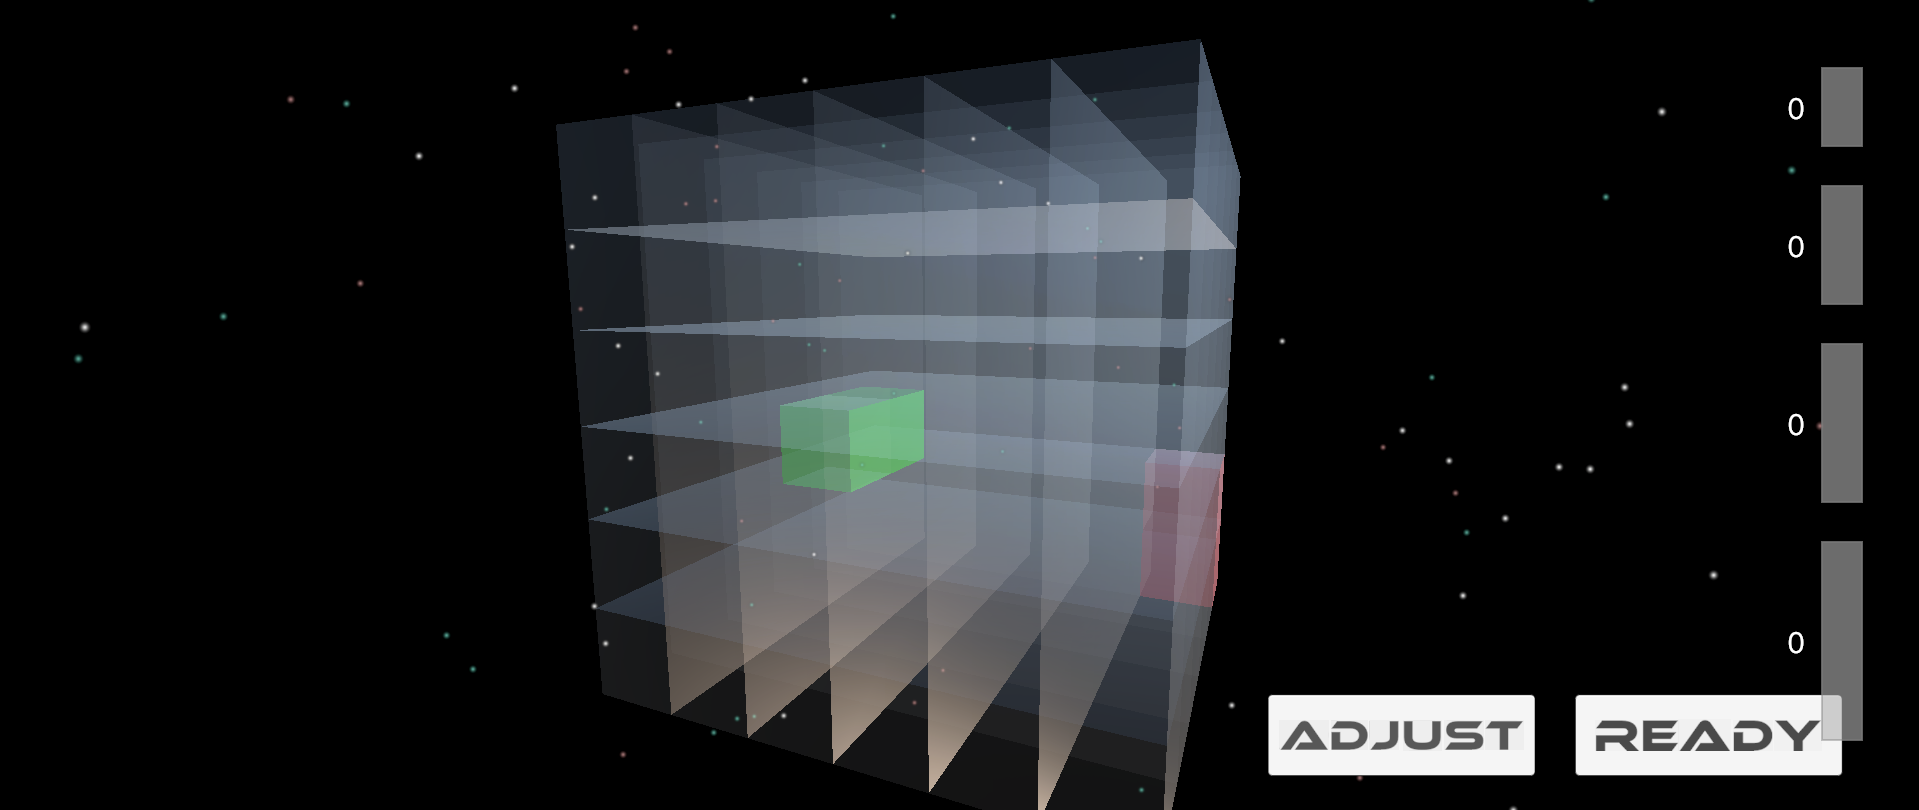
Once ships were placed, they were stored in an array for access later on. They each had unique names that started with their prefab and ended with an incrementing value. Once placed, a function would be triggered to subtract a value for the corresponding UI ship element. These were used as buttons so you could switch through the different ships.
If the player wanted to adjust the ships or remove them, all they had to do was switch the mode they were in. This would make the Raycast switch its sight to the ships layer. If a player hovered over a ship, it was triggered to light up blue. If left clicked, it had its name used to search through the previously saved ships.